Microsoft InfoModeler (VisioModeler) Basic Tutorial
(Screen shots are from the above program that is a free, unsupported MS program.)
(This program has several Adobe Reader pdf help files that allow a very good understanding of the ORM method of database design.)
(Can be downloaded from Microsoft.com site. File name is: msvm31.exe (about 26M download))
(Feel free to use this tutorial as you see fit)
(All care has been taken, but there could be some mistakes in the screenshots.)
(e-mail: nobrien@lhc.qld.edu.au)
Main Screen of InfoModeler
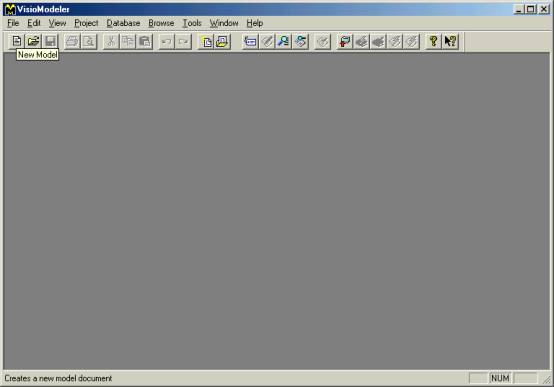
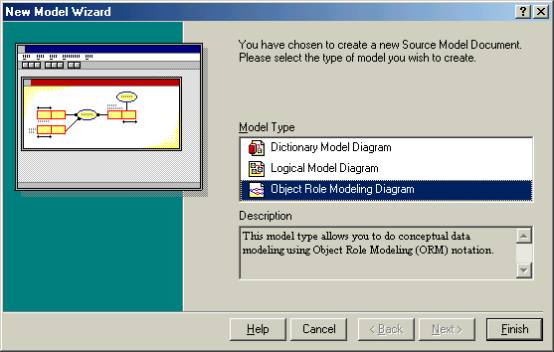
- After choosing File/New the New Model Wizard Screen appears.
- Chose Object Role Modelling Diagram and click Finish.
- The Menus and screen area are shown below.

![]()
![]()

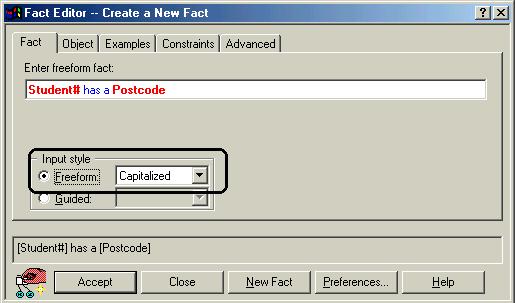
Verbalizer
- Chose Fact Editor.
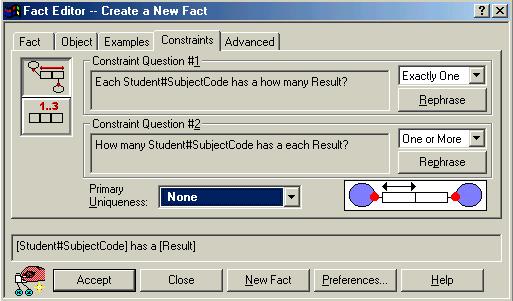
Fact Editor![]()

- Enter the Fact in the text area
- A Fact, in this case, must start with a Capital Letter (The Guided radio button menu is worth investigating)
- Click the Object tag
- Check both are shown as “Entity”

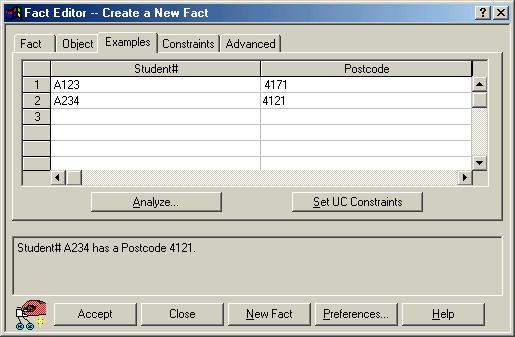
- In the Example dialog box enter several samples that reflect the relationships between the Entities
- Using the Constraints dialog box, chose the constraint as required.
- Notice the model is shown with the constraint in place.
- In the lower area of the dialog box, there is a statement shown which is trying to reflect the relationship between the entities.
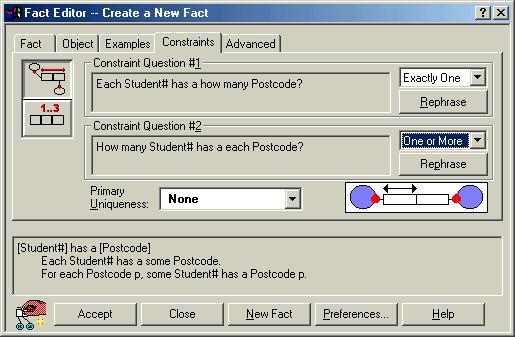
- Notice how the use of the Rephrase Button
![]() changes the Constraint question
changes the Constraint question


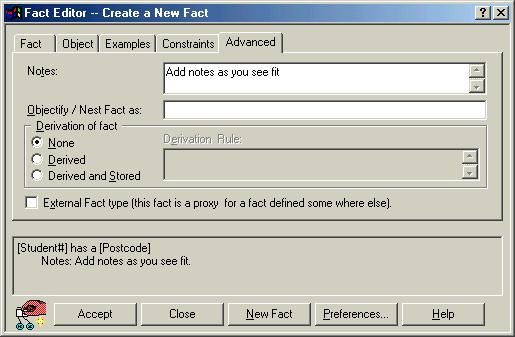
- In the Advanced dialog box, notes can be added and the Derivation of the Fact can set.
- The lower half is again showing information.
- That finishes the relationship building.
-
-
Click Accept
- The diagram is updated.
- The Fact Editor needs to be moved or closed to fully see the diagram. If the diagram has to be edited by hand, the Fact Editor must be closed before the program will allow a manual update.

- And so on until the diagram is completed.
****************************************
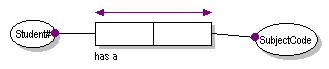
Ternary (Nested) Diagram
- As above, plus.

- Choose the Constraints tab.
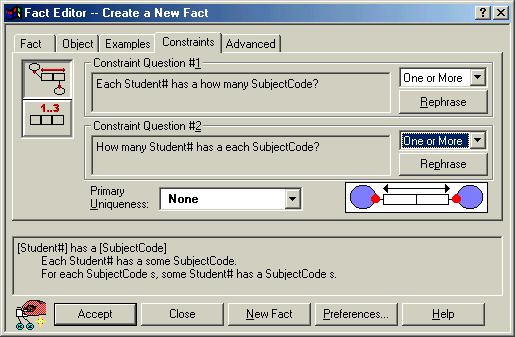
-
Chose Accept.
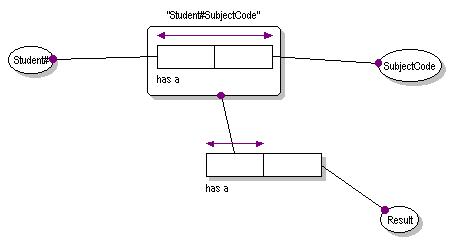
- Right click the Role Box and left click Nest.
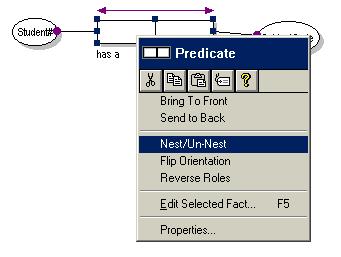
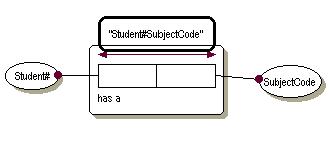
- The following nesting is done to the Role Box. Notice the collapsed entity of the nest. This is the new “fact” for the next part of the exercise.
- Call up the Fact Editor and enter as shown.
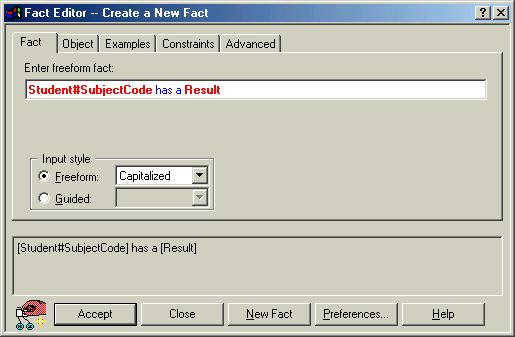
- Chose Accept.
- And this appears.
- Now we can do many, if not all, ORM diagrams and they look good.
- I do not like all the Mandatory dots, but I could not find any way around them.
*************************************
Constraints Menu
ORM Menu![]()

![]()
![]()
The diagrams can be built up using the ORM and Constraints menus; but, after a while, the Fact Editor makes more sense.
*************************************
MS InfoModeler does more than ORM diagrams.
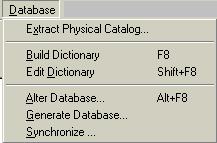
A wizard walks one through a reverse engineering of a completed database. If one understands the terminology, the program did a reasonable job on a MS Access97 (does not work on Access2000) database.
It builds the data dictionary then will generate the database structure for a nominated database type.
All in all, for a free (unsupported) program, MS InfoModeler, does a good job.
*********************************