Hedgehog Algorithm

Eric Joisel was a genius – his sense of fun and play was amplified by his seemingly accidental discoveries. He typified himself as a “bad folder”, but no one breathed life into paper quite like him. When cleaning out my display case, I chanced upon an ancient and beleaguered fold of an “adult” hedgehog, based on Joisel’s iconic design, and decided to fold a replacement:

Looking through notes Eric himself left about the “Baby Hedgehog”, I discovered his “design” was really an algorithm – do it on a 16 grid and you get a baby, do it on a 32 grid and you get an adult – it is an algorithm because the method of raising a quill is repeated along a row. The method of adding another rank of quills is the same. Baby hedgehogs have 5 ranks of quills, an adult had 9. The leg formation, head and tail formation on both models is the same … the instructions are algorithmic.

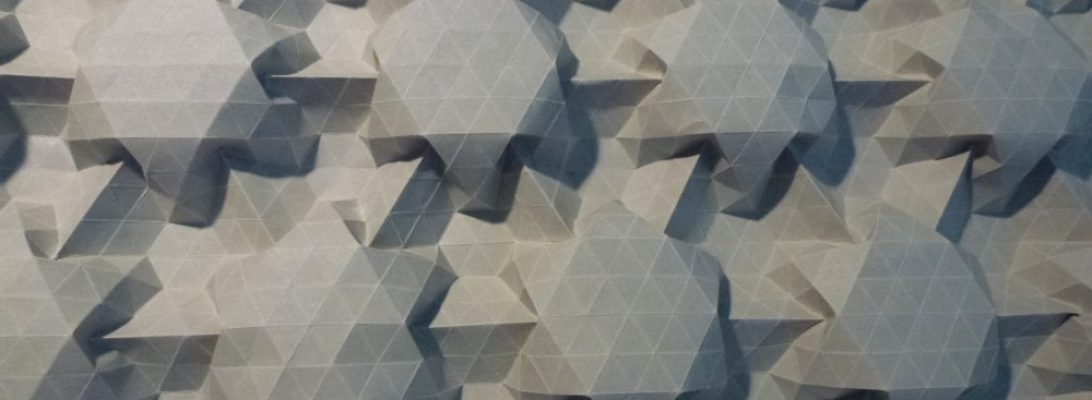
I set about using some of a red roll I bought off Amazon (for something else, then changed my mind) – it is a scant 60cm square. It is red both sides, and takes folds quite well. You lay a 16 grid or alternate mountain/valley folds. then Diagonal grids alternating mountain and valley – this has the side-effect of, mostly, orienting all the creases you need for the base correctly. Nice.

The first rank of quills to set is the middle line. You lay as many pre-rank pleats as the model dictates before forming the first row of quills, then, it is a simple zig zag squash/collapse. Raising subsequent ranks all use the same method – popping points by liberating an internal pleat and reversing a point that is hugging the previous line of quills.

I remember being bamboozled by the collapse back when I first did it over a decade ago, but with experience you can see the process, anticipate what needs to mode and achieve each point without stressing the surrounding paper- very satisfying. Once all ranks of quills are raised, the side fans are box-pleated in half to form front/back legs. You then do something Joisel terms “True 3D”, where the body is curved via gentle stretching of the points – this subtly alters the inner gussets and locks the body in a domed shape – it takes time and a gentle tough not to distort and damage the paper – the effect is lovely however.

Continue reading

1138: The Power of Many

I love the geometric world of Tessellations, and have folded many. It is doubly satisfying when you design that tessellation molecule and how it tiles yourself.

This is a hex-point tessellation, and is based on a mathematical algorithm discovered by AurĂ©lien Vermont ( @auregamiiii ) and described in a paper written by them as part of their study in Engineering. The algorithm describes a geometric construction method that lest you raise a n-finned spike from a flat surface and have the surface “heal” around it.

It does so by placing strategic dart pleats that seamlessly absorb the excess paper caused by the spike in a controlled and very flexible way. You can raise a spike at the intersection of a collection of creases (2 or more intersections). The folding gets progressively more fiddly the smaller the spike and the larger the number of intersecting lines.

I chose to derive a hex-spike, that is a 6-crease intersection spike molecule, based on a regular hexagon. Once I had derived all the creases necessary to allow one spike to be raised, I test folded it (just to check – theory and practice are sometimes at odds – some paper designs for origami seem to ignore the thickness of the paper which then breaks the symmetry or distorts the shape) and all was good.

Continue reading

1124: Vase Algorithm

I recently opted in to a “fold along” workshop (at 1am-3am local time) with Gerardo at neorigami.com and a number of guest demonstrators. The first model was a square “Vase” designed by Saburo Kase:

The process, starting with a “preliminary base” got me thinking about generalization of the algorithm to other regular polygons. The corner treatment is radially symmetrical (ie. you do the same thing on each corner), and has 3 “about here” judgement folds that all combine to control the final shape of the vessel …. so….

I cut an equilateral triangle, a new square and a regular hexagon, then formed “preliminary bases” from each geometry.

Next, I followed the corner algorithm on each of the 3, 4 and 6 corners respectively to see how it behaved. I now regret not also using a regular pentagon, as I think it would possibly be a “sweet spot” for the organic shaping … maybe some other time.

Continue reading