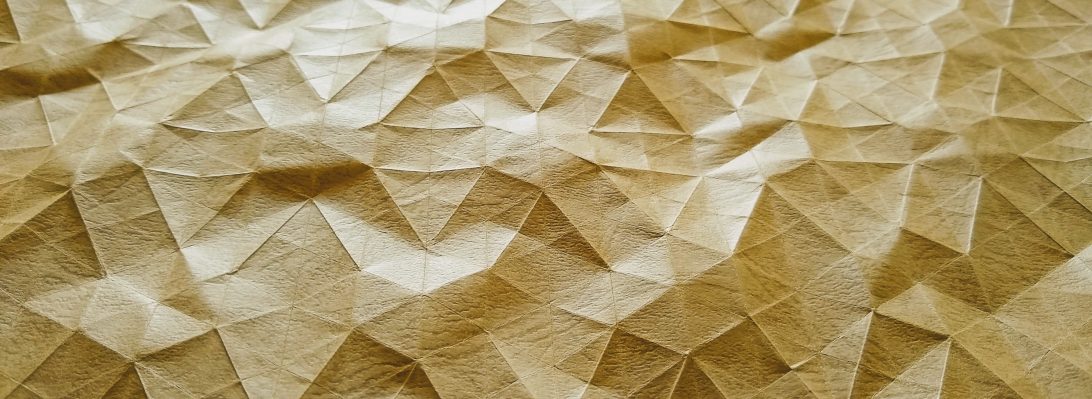
I am always looking for folding (and prograstigami) projects, my friends often )helpfully) suggest I “fold the washing” – my question to this is always “into what?”:
This lovely little colour change model is in the latest Tanteidan Magazine (one of many advantages of being a member of JOAS.
Designed by Motoo Ohguchi, I decided to punish a lovely 21cm square of Shibori duo paper, and set about the exacting divisions, colour reversals and smoke and mirrors that form the shape and details.
The layers get really dense, so thin paper (or going large) are solutions – I tried it on 15cm Kami and struggled to shape the collar and other details at this scale and thickness.
Looking for a model to welcome in the new year, and also to further my Crease Pattern solving ability, I hoped this model would serve both purposes:
Part of a book I have helped edit prior to publishing, this is 1ctzH8jm0N2’s “Bone Dragon”, a CP and photodiagram sequence from the forthcoming book “Ori-Fancy 6”.
I started with a 90cm square, I divided into a 32 grid, then located the required diagonals, then begin allocating mountain and valley orientation to the creases before attempting the collapse.
There are lots of details here, and the initial collapse generates most of them – I buggered up the head collapse (rather I found the intricate point in point structure that would eventually become the horns too hard to do initially) but found it easy to do post-collapse, and was initially flummoxed by the feet structure until I realised a series of sinks needed to be closed-sinked, and another set needed to be open-sinks (hopefully this will be made clear in the final photo diagram annotations).
The body ends up being 30+ layers, making the necessary crimping for shaping really difficult with thick paper (I used natural Kraft paper) – there is a nice “bulk” to the body, and the body feels solid – thinner paper would make shaping less torturous.
One of many benefits of being a member of Origami USA (OUSA) has been the “Origami Connect” online classes program. For Christmas, members were treated to a free workshop with Riccardo Foschi, who taught his delightful “Sitting Gnome”:
Due to the tyranny of international timezones, their 1pm EST workshop meant I had to join them 15 hours later (for me, 4am the day after). It feels weird to be in their future, but there you go. I set an alarm, made a cup of tea, folded along then attempted to go back to sleep again afterwards (fairly unsuccessfully, annoyingly).
This model is a lovely figurative representation of a gnome – hat, nose, moustache, beard, stubby body and stickey outey legs and feet – a little like the “elf on the shelf” idea – it is a pity he has no hands (I might mess with the design a little as there is LOTS of paper not doing very much that I may be able to encourage some arms from).
Riccardo was a delight, his models have a real cuteness charm, and he is very generous sharing CPs with the community, many of which I have folded, I love his design sense, and the fun his models are to fold – often cartoonish happy things they are.
This is ‘Red Flower’, the base fold of which there re many variations, but the base molecule is based on a square grid and (for single molecule at least) simple to pre-crease and collapse.
When you scale up, accuracy shows itself as important – slight errors mean that the internal collapses twist the whole sheet out of shape.
Looking for something to de-stress and unwind to after a brutal term, I turned to “The Works of Satoshi Kamiya II”, and a model that I was astonished to find I had never tried – his hermit crab:
Starting with a 70cm square of natural/white Kraft paper, the fold was challenging as you allocate one side of the sheet to the crab, the other to the shell. Via a fabulous fold sequence, you tease legs, claws, antennae, eyes and mouthparts while delicately colour-changing the rear and then spiralling a shell as his home.
This is, (der), genius design – I always am amazed with Kamiya designs, and the elegance of the developmental sequence – as if the journey is every bit as delightful as the destination.
I am trying to get my brain back – the term has been brutal so I decided some paper therapy was in order. I originally folded this model back in 2011, on tiny paper, and the resultant mess was posted as part of that year’s 365 challenge.
I had vowed to re-fold it with better paper, and I decided to do that today.
I cut a 50cm of pearl coloured Lithography paper, and carefully followed an instruction set that only lasted 103 steps or so (quite quick for a Kamiya model).
I love how this horse seems to emerge from an otherwise non-descript tangle, with glorious and sensibly placed, appropriately muscled wings.
When a legend graciously shares hand-drawn diagrams for a lovely simple Eastern Dragon, one simply has to give it a go:
This is an “Eastern Dragon” – interestingly most people in the west believe you need to staple wings on such a critter so that it can fly. Our eastern cousins accept that this sort of critter can fly, wings are not necessary for this activity.
This design was recently shared, luscious hand-drawn diagrams from @brianchandesigns, a gracious and fabulous gift to the origami community.
My Mum had a large carpet snake take up residence atop her hot water system. Apparently he (she? who can tell?) was gentle, sleepy and knocked off some terracotta plant pots in his quest for a coil-spot:
Over a period of a couple of weeks, he moved about, basking, slithering and generally being a snek, then he buggered off (as they do).
A group of mates has, periodically over the last few decades, gotten together in a smoke-filled room to play a board game. Not any old game, but “Dogfight” – a dice-based, card controlled WW1 battle of the airspace over Europe.
Although most of the players were well passed their fifties, we squabbled like little kids, goaded each other fearlessly, preened and peacocked at our prowess and got nit-picky about the many nuances of rule variations hard won.
It was honestly some of the best fun to be had, and the chaps were good sports, one and all. In January, one of our quartet passed away. “Dr Winston O’Boogie” (Michael) flew off into the sunset for the last time to great fanfare.
We have met since, dragging a young buck into the fold, and played until Michael’s house (the home of our epic aerial battles) was finally sold.
Tonight is our last hurrah!
I have struggled to find a suitable way to celebrate such a wonderful partnership, but turned to Origami, as is my want. I wanted to fold BIPLANES for the original pilots, and a smaller plane for the new recruit, and have really struggled with these models. The Biplanes are designed by Marc Kirschenbaum. I wanted to fold them smaller but failed many times, only being able to manage them from 60cm squares (and not very tidily sadly) – red, naturally in honour of Von Richtoffen (or Snoopy, take your pick).
The smaller plane is “Avioneta” designed by Eduardo Clemente – a charming little fokker.
I hope the guys like them. I remain forever grateful for the opportunity to act like little kids when surrounded by the wonder and majesty of imagination, fun and friendship. Chocks away Chuck, fly true one and all.
I am a firm believer that people learn something important when they try to do something they are not good at. I have recently bought a Theremin, and I want to pretend that I am anything but not good at playing it, but, like, it is hard to master:
I noticed that a Theremin has a distinctive shape: an upright antenna that you use to control pitch (the high-lowness of a note), and a horizontal antenna loop you use to control volume. To my (not so great) surprise, I discovered that no one had yet done an origami model for this thing, so set about having a go.
I started with the fish base, long flap for the pitch antenna, long flap for the stand, then 2 shorter flaps become the volume loop. Some accordion pleating and the basic morphology is there. You can (I hope) see the development in the sequence below:
It is a start, I might try to refine it (add knobs, refine the antennae, etc). Happy with v1.
When I saw the folded form I thought there must be some trickery here:
All I had access to is the crease pattern (CP) for this model, and, given I am trying to develop my CP solving skills I thought it fair game to give it a try.
Based on a 16×16 grid, some strategic box pleating and an ingenious colour change we have a classic music stand, 3 shapely legs and a piece of sheet music that is a different colour to the stand – magic.
I like this model a lot – it just sort of coalesced in to a successful model for me, although the first fold was on paper that was same both sides but I could see the potential for colour change and had to fold it in duo paper,
There were 4 hours allocated for the teaching of “Dog”, we finished in about 3 so Satoshi decided to teach a simpler model that he said was the most “realistic cat” he knew – modelled after his own pet apparently:
A simple fold sequence, we have the back of a cat staring intensely away from us, just wonderful. I have seen other session attendee’s models where they added details to the front of the cat (when I re-fold this I may too).
Again, the sequence was fluid, and a joy to follow along with, interjected with banter and casual observations by the master – such a privilege to have been able to fold along.
The star drawcard (for me) was an opportunity to fold along live with Satoshi Kamiya – he taught 2 models and I managed to follow along with the broken English, translator and zoom limitations:
The sequence of most of Kamiya’s models are delicious – so natural, logical and a totally different/unique style.
This is a generic dog, different to the one most recently published and I can see how you could vary the base to get really nicely shaped dogs of many types – this one is a little “husky” like.
I really felt lucky to have been present, I am a bit of a fanboi, but it was intense and wonderful. Matching the master, fold for fold was a rare pribilege. I must re-fold this (as I am not really happy with the head I folded).
I attended the 2021 April OUSA Foldfest – a 25 hour online marathon of folding tutorials, lectures and virtual meet nd greet:
One of 2 deciding reasons to attend was the opportunity to be taught a model by Sipho Mabona – his “Geisha”.
At 3am, I awoke, made tea, cut some paper ready for the workshop (international time is cruel), and, thankfully followed alone a complex but beautiful sequence.
By pure coincidence, my paper looked like Sipho’s, and my final model is really close (amazing for a first fold, testament to the sequence and expert tutelage).
Mum had Basset hounds when we were kids – wondrously preposterous dogs with twice as much skin as any dog needs, rediculously long ears and a bark straight from the bowels of hell. We loved the “girls”; they were very intelligent, active and protective (and seemed to delight in sneaking up behind us and barking deeply once, for the effect – I am sure it amused them):
This model is as close to the actual basset hound shape as I have found folded from paper, and the colour changes make this model actually closely resemble one of our bassetts named “Cleo” – lovely dog. The stance is really typical and the placement/proportion of the ears and head are spot on.
Folded from white/natural duo Ikea Kraft, it is a challenging model because of a number of judgement fold steps and some tricky shaping, but i am happy with the result (and hope mum likes it, a gift for her).