
After much care and attention, diligently following expert lessons (courtesy of MrOrigami’s Daniel Brown), I have managed to successfully navigate lessons 1-11 in what promises to be an ever intensifying journey towards understanding the whole model. This is PART 2 of a previous post. Part 3 also exists.
Along the way I have learned a LOT about myself – patience is it’s own reward. If at first you do not succeed, try, try and try again (something I needed to do for lesson 11 – which I folded 4 times until I got it right, each attempt taking me 12ish hours)

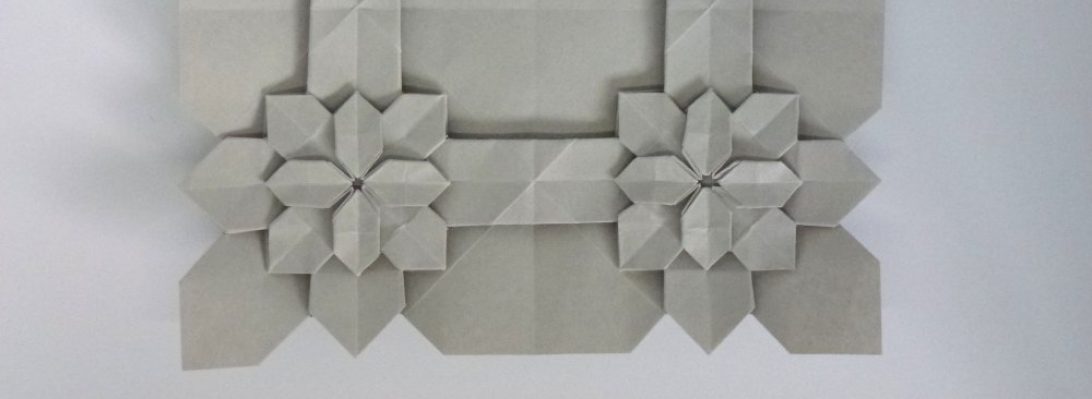
I can see why Satoshi Kamiya (the astonishingly talented designer) has not folded lots of these – the detail (and there is LOTS of details here, most you cannot see) needed to let the paper sit correctly whilst transitioning between elements is breaking my brain.
So far, I have learned elements of the design in isolation:
The lessons after this appear to tackle larger and more complex chunks – the aim to get all pieces to co-exist on the same sheet.
Interestingly, although it is time consuming, I am finding the process fascinating, each piece gains a sort of momentum that propels me on to finish it and get it right, and I look forward to the next part with a sort of morbid curiosity.
I bought some WIDE Kraft online (90cmx30m) and, depending how it behaves, intend to laminate 2 strips together to make a square nearly 2m x 2m as my first attempt of the whole model – no idea if that will be big enough, we shall see.
The Lessons continue.
Lesson 12: The lower half (wip)
12A = Pre-creasing the Rear End
I am using a 90×180 sheet of newly purchased kraft – it is 65gsm, not sure if it is too thick to achieve the model- we shall see
12B = The Collapse of the Rear End
Folded over a period of over 5 weeks, this has taken an age – the detail here is terrifying and I am pleased to say it was folded without error, no paper fatigue and only a tiny bit of inaccuracy due to paper thickness.  Quite chuffed I got this far as I resolved to keep folding until I could not fold more
 12C = Shaping the Rear End
…to come
Lesson 13: Upper half transitions
no idea where these fit in yet
Lesson 14: Final Scale Pleats
fairly sure these are the transition towards the neck where the body finishes, we shall see
Lesson 15 – Neck Twist
Apparently according to the crease pattern, the head is upside down, necessitating a complicated twist
Lesson 16 – Early Head Base
The head is a defining feature – this is the first stage collapse, a base from which great complexity will arise (I folded it thrice to remove the “it seems to happen by magic” collapse confusion)
Lesson 17 – Neck Connection
 Lesson 18a – Early Head Base
 After a whole bunch of wrangling (separated in time by an ugly period of marking and reporting) we shape the base into a “late” head base so:
Lesson 18b – Late Head Base
 wip
wip
…the folding continues, carefully
I am trying to fold the leg section right now can you tell me what size grid you used? I am to lazy to count.
the leg in isolation is folded from a 20×20 grid, the pair of legs with shoulder patches is folded from a 32×64; the whole back half of the ryu is folded from a 48×96; the whole dragon from 96×96
How do you join the 2 halves of the model together? I have finished folding it, but I cannot work out how to do it. I can send you pictures for proof. Also, how do i get a 2m size paper?
If folded from 2 separate bits of paper, the two fan-folds need to be bridged by strategically placed strips bridging the gaps between corresponding pleats – they will be hidden inside the body, so do not need to be too fancy, just lay flat and tidy end-to-end. Then you wrap the scaled sections around that major pleat bundle (I ran wire down mine so I could later pose it bent) and the edge of the scaled skin is glued along the dorsal spin row tidily to fully encase the major pleat bundle. I hope that makes sense.
You can see the result in this image: http://www.wonko.info/365origami/wp-content/uploads/NorthMeetsSouth.jpg
I made a 2mx2m (ish) sheet by joining 2×1 rectangles cut from a roll of Kraft I bought specially from a stationer – the join lies on the inside of the body and is not seen. The huge format is a materials handling nightmare in it’s own right, apart from the then mammoth task of having all the components on the same sheet, at the same time.
You know where the 2 sheets join together? mine is off by 1 unit if you fold it. I don’t think that you know what I am talking about, so can I send you pictures through your email? Also, what is it?
Lesson 17 – Neck Connection?
Still working on Lesson 12B (the collapse of the whole back half) – 12C will be shaping the same
Yet to do lesson 17
Where can I get the full paper for Ryugin? I can only find 100cm by 100cm
I needed to make it from 2 strips off a large format kraft roll.
Wow, very nice so far! Do you plan to shape the scales?
I have, subtly – check the close-up
oh, okay. It’s coming together very nicely! I have another question though. Why did you decide to shape them like that? Is it easier or what? I do the tool assisted shaping as well (I am on the diamond stretch lesson, so I am doing the same course) and it doesn’t seem to be much different…
I used the tool-assisted method also, I find it really difficult at that scale (nerve damaged hands make fine details hard work). I also like a subtle shaping is all, thinking the narrower scales look a little odd – each folder has their preferences I guess.
oh, okay. It is coming out beautifully! Congratulations! How do you manage to get these grids so accurately? It seems whenever I make a grid, some squares end up being rectangles and such… I am folding the Lich King by Nguyen Tuan Anh, and it is based on a 96X96 grid. I have folded it, and the grid is kind of weird in some parts… The square I started with was perfect… I don’t think a millimeter will make that much of a difference, but it kind of worries me… Any tips?
The temptation to use a raw edge as the measure of where the bisector between gridlines is the issue – you get “crease creep” if you do that as each fold changes the length of the paper a tiny amount which accumulates on dense grids. As painful as it is, reverse each crease and use crease to adjacent crease as the bisector – it takes longer but the grid is accurate up to ridiculous divisions
Hi how do you laminate two pieces of paper toghether
run a seam with MC perhaps – at the moment I am folding the model in 2 halves and will join them – unsure if I will attempt the whole model on one sheet – material handling that big is a nightmare
PLEASE help on the collapse of the head base! I’m so confused, and I’m not really sure where either the neck connection or the neck twist coincide with the head…
are you working from lessons or the CP?
I’m only working from the cp. How do I access the lessons? I can’t seem to find them.
They are by invitation, I am not at liberty to share them, sorry. Contact MrOrigami perhaps?
hey am also now in course what is the size of paper you used inhead base??
it depends, if you just want to make the base, then 20×20 is probably fine, if you want to finish it I found I needed bigger paper (50x50cm)
ive succesfully test folded the legs. Im asking, is the official CP at kamiya’s book reversed (especially the legs)? Thanks
I mean the scales only
pretty sure most crease patterns are showing the reverse side – kamiyas does I think. Due to the oddities of the head/body placement on the sheet, there is a necessary neck twist to orient the head facing forwards also which is all manner of fun (not)
Wow thanks for posting the head bases. Now i collapsed it well! Going to try the necktwist and tails. Im looking fwd for your finished ryujin.
what is the grid for the head with scales ?
36×36 grid initially, with some smaller bits for the scales
Hello Wonko!
I was looking for photos to help me fold the ryuzin. I can fold the whole model already, just need to get better on some details. But i’m not very good at folding the head base. I usually start folding it by de nose, but when i reach the neck it always get a mess. Seeing your photos i tried fold the neck first, but i couldn’t reach that “late head base” and the rest of the head was messy to fold. Do you have some tips for this part? Thank you.
Hello how can I contact mr origami
You can connect through the Discord that now specifically supports development of all of Satoshi Kamiya’s Ryu Jins.